


December 10, 2025
7 Step Guide for Heat Pump Thermostat Wiring (HVAC Tips)
Understanding how to properly set up your heating and cooling system is essential for maintaining comfort in your home year-round. One crucial component in this process is the heat pump thermostat wiring, which ensures your system responds correctly to temperature changes and operates efficiently. Whether you are upgrading your existing thermostat or installing a new heat pump system, knowing the right wiring procedures can save time and prevent costly mistakes. For a deeper dive into optimal heating solutions, exploring professional heating services can provide valuable insight and assistance.
- Learn why correct heat pump thermostat wiring matters for system performance.
- Discover the key wiring steps to safely connect your thermostat to a heat pump.
- Understand common wiring configurations and tips to troubleshoot issues effectively.
- Explore additional considerations to enhance thermostat functionality and efficiency.
Why Proper Heat Pump Thermostat Wiring Is Crucial
Correct thermostat wiring is foundational for the smooth operation of your heat pump system. Without it, you may face inadequate heating or cooling, increased energy costs, and potential damage to your HVAC equipment. Ensuring that each wire connects to its proper terminal guarantees your heat pump cycles correctly and maintains comfortable indoor temperatures throughout the year.
- Optimal System Efficiency: Proper wiring enables your heat pump to switch between heating and cooling modes seamlessly, reducing energy consumption.
- Extended Equipment Lifespan: Accurate connections prevent short cycling and excessive wear on your heat pump components.
- Accurate Temperature Control: A correctly wired thermostat guarantees precise temperature readings, improving indoor comfort.
- Safety Assurance: Correct wiring minimizes electrical hazards and helps comply with safety standards.
7 Step Process for Heat Pump Thermostat Wiring
Wiring a heat pump thermostat involves careful attention to detail to make sure each connection is made correctly. Follow these steps to achieve a successful installation or replacement.
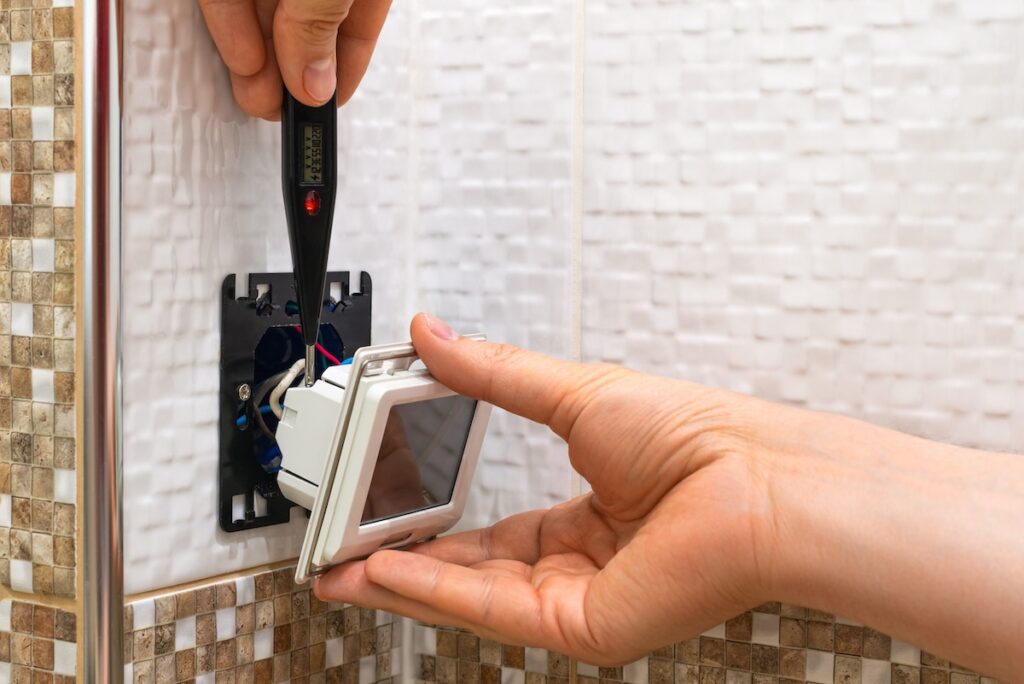
1. Turn Off All Power to the HVAC System
Before beginning any electrical work, safety is paramount. Switch off the power at the circuit breaker to avoid the risk of electric shock or damage to the system.
- Verify the power is off by trying to operate the thermostat or HVAC unit.
- Use a voltage tester if available to confirm circuits are dead.
2. Remove the Old Thermostat Cover
Carefully detach the cover or faceplate of your existing thermostat to expose the wiring terminals.
- Note and label each wire with masking tape to identify its terminal connection.
- Take a photograph for reference during the new wiring process.
3. Disconnect the Existing Thermostat Wires
Loosen the screws holding the wires in place and gently pull wires free.
- Avoid pulling hard on the wires to prevent damage.
- Keep the wires separated to prevent any accidental shorting.
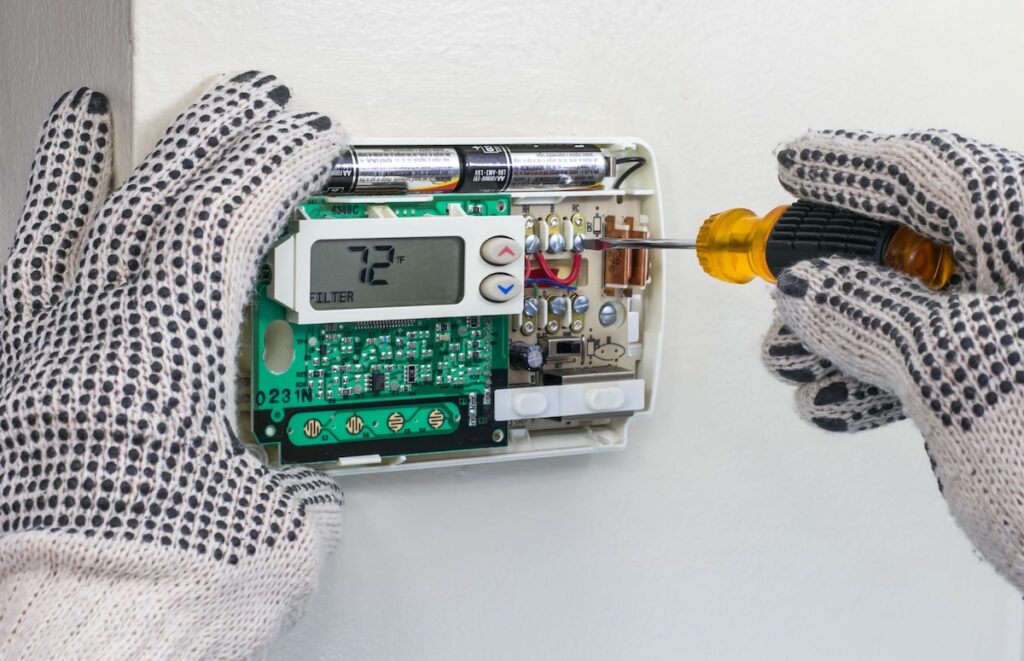
4. Understand the Common Heat Pump Thermostat Wires
Familiarize yourself with the standard wire colors and their functions in a typical heat pump setup:
- Red (R): Power from the transformer.
- Green (G): Fan control.
- White (W or O/B): Reversing valve for heat/cool mode.
- Yellow (Y): Compressor contactor.
- Common (C): Provides continuous 24V power (if available).
5. Connect the Wires to the New Thermostat Terminals
Match each wire to the correct terminal on the new thermostat based on the labels or photographs taken earlier.
- Secure the wires firmly to avoid loose connections.
- Double-check that each wire corresponds to the right function.
6. Attach the Thermostat to the Wall Plate
Once wired, attach the thermostat base or plate to the wall, ensuring the wires neatly fit inside.
- Check that the thermostat is level before fully tightening screws.
- Reinstall the thermostat cover or faceplate.
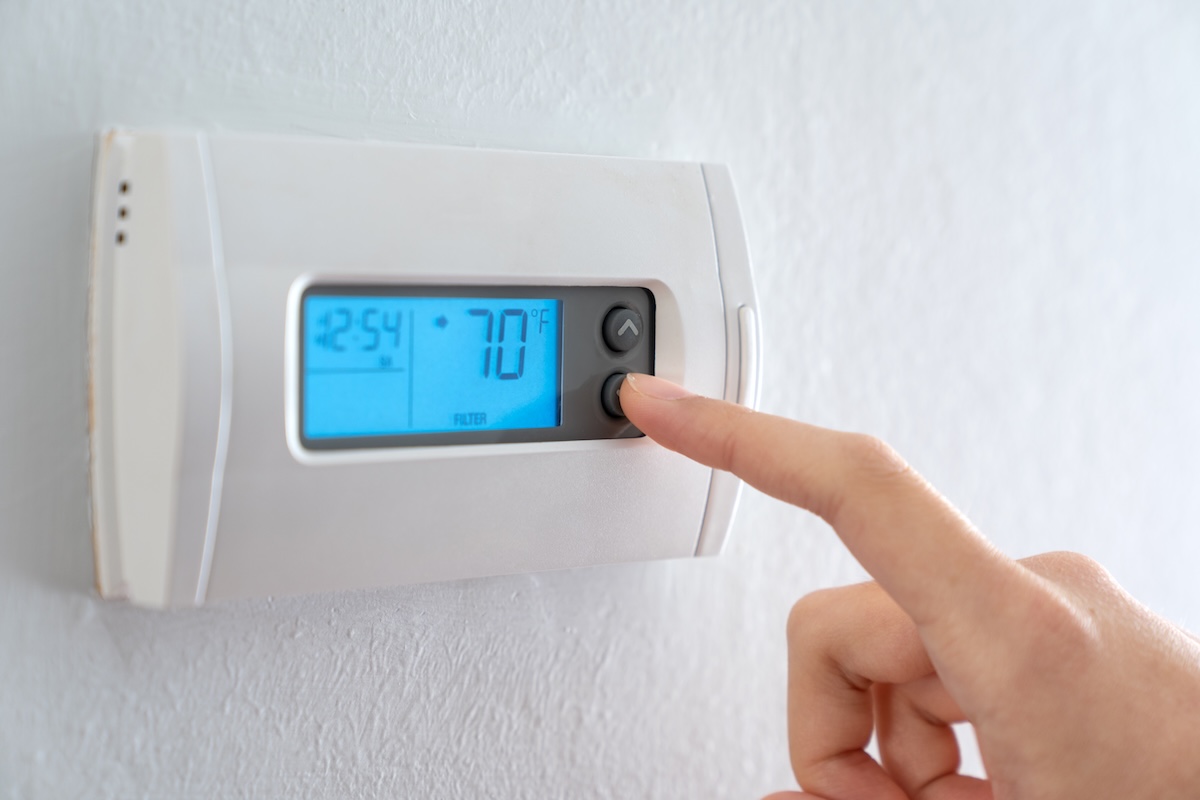
7. Restore Power and Test Your Installation
Switch the circuit breaker back on and power up your heat pump thermostat.
- Verify that the thermostat powers on and displays correctly.
- Test both heating and cooling functions to confirm proper operation.
- Adjust settings as needed following the manufacturer’s instructions.
Enhancing Heat Pump Thermostat Wiring for Better Performance
Beyond the basic wiring steps, certain enhancements and best practices can ensure that your system performs even better.
- Use a Common Wire (C Wire) for Reliable Power: Installing a C wire can provide continuous power to modern thermostats, enabling advanced features and preventing battery drain.
- Label Wires Clearly: Keeping wires labeled helps with future maintenance or troubleshooting.
- Check for Compatibility: Ensure your thermostat model is compatible with your specific heat pump system to avoid wiring mismatches.
- Consider a Programmable Thermostat: These allow you to set temperature schedules that can boost energy savings and comfort.
Troubleshooting Common Heat Pump Thermostat Wiring Issues
Even with careful installation, some wiring problems may arise. Understanding these issues can help you quickly identify and resolve problems.
Thermostat Won’t Turn On
- Possible Cause: Power may still be off or the C wire is missing.
- Solution: Confirm power is on and wiring includes a C wire for continuous 24V power.
Heat Pump Won’t Switch Between Heating and Cooling
- Possible Cause: Reversing valve (O/B) wire connected incorrectly.
- Solution: Check the O/B wire placement and ensure it matches your system’s configuration.
Fan Runs Continuously
- Possible Cause: G wire may be stuck or shorted.
- Solution: Inspect the fan control wire connections and replace damaged wiring if needed.
Incorrect Temperature Readings
- Possible Cause: Thermostat location near heat sources or poor sensor wiring.
- Solution: Relocate thermostat to a neutral area and verify wiring integrity.
Final Thoughts and Next Steps For Your Heat Pump Thermostat
Proper heat pump thermostat wiring is a key factor in ensuring your HVAC system functions efficiently and reliably. Taking the time to correctly connect each wire and verify operation helps maintain your home’s comfort and saves on energy costs. For complex setups or if you encounter challenges during installation, seeking expert help can make all the difference. To discuss how to optimize your heating system or arrange a professional installation, please contact us today at Smock HVAC and let us assist with your HVAC needs.

